Zoom Security Settings
18/01/22 12:09
Zoom has shared some recommended security settings. These are worth re-sharing:
Features to Secure Meetings
Features to Secure Meetings
- Allow only signed-in users to join: If someone tries to join your meeting and isn’t logged into Zoom with the email they were invited through, they will receive a message that says, “This meeting is for authorized attendees only.” This is useful if you want to allow only signed-in users to attend your meeting and only those from a certain domain — other students at your school or colleagues, for example.
- Enable the Waiting Room: The Waiting Room is an important feature for securing a Zoom Meeting. Just like it sounds, the Waiting Room is a virtual staging area that stops your guests from joining until you’re ready for them to join your meeting.
- Lock the meeting: It’s always smart to lock your front door, even when you’re inside the house. When you lock a Zoom Meeting that has already started, no new participants can join, even if they have the meeting ID and passcode. Just click the Security icon at the bottom of your Zoom window. In the pop-up, click the button that says Lock Meeting.
- Avoid using your Personal Meeting ID (PMI): Your PMI is basically one continuous meeting, and you don’t want outsiders crashing your personal virtual space after your designated meeting is over.
- Report a user: Hosts can report users to Zoom’s Trust & Safety team, who will review any potential misuse of the platform and take appropriate action. Find this option within our Security icon or under the green shield icon in the top left corner of your meeting, where you can attach screenshots and other documentation as needed.
- End-to-End Encryption (E2EE): Account owners and admins can enable end-to-end encryption for meetings, providing additional protection when needed. Enabling end-to-end encryption for meetings requires all meeting participants to join from the Zoom desktop client, mobile app, or Zoom Rooms.
- Remove unwanted or disruptive participants: You can remove someone from your meeting by using the Security Icon or Participants menu. On the Participants menu, you can mouse over a participant’s name and several options will appear, including Remove. Click Remove to kick someone out of the meeting. When you do remove someone, they can’t rejoin the meeting. But you can toggle your settings to allow removed participants to rejoin in case you boot the wrong person. Hosts can also mute and turn off the video of participants to block unwanted, distracting, or inappropriate noise/gestures from other participants.
- Automatic Updates: Automatic updates help users easily receive important security fixes and helpful features, improving their overall experience with the Zoom platform. Our automatic updates feature periodically checks Zoom servers to determine whether a new update is available and is enabled by default for most individual users. If you utilize mass deployment packages for Windows (MSI) and macOS (PKG), this user-level feature is disabled by default.
- Designate a Security Contact: Account owners can assign users (individual or group aliases) within their organization who are not assigned admins or owners to also receive email communications from Zoom’s Security teams. This field can be used to add internal security team members that would like to receive communications about security updates.
For faculty teaching on-campus (P) and on-campus hybrid (HB) classes in Zoom+ classrooms
01/09/21 15:36
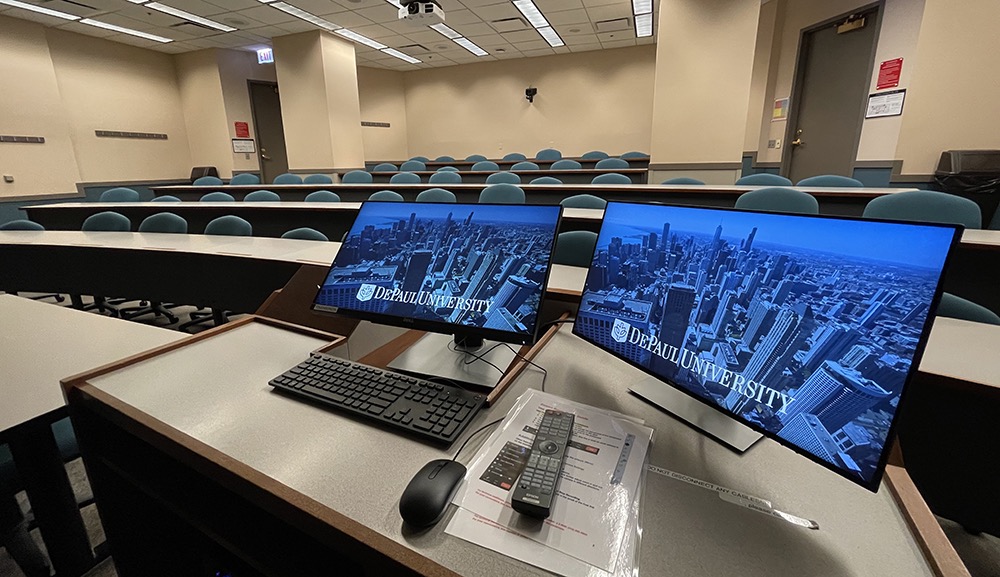
210 DePaul classrooms have been updated this year. These new Trimodal and Zoom+ classrooms are very different – some do not have blackboards, whiteboards, and CD ROM drives, but instead rely on new technology.
These updated rooms are listed here:
The QuickStart Guide on the Teaching Commons explains how to turn on the podium PC in a Zoom+ room. Here are the steps you would follow to use the podium PC:
- Take the remote and turn on projector using the Power button.
- Tap the touch screen monitor.
- Click Share Screen. A pop-up window will appear.
- Click Start Sharing.
- If this pop-up says, “Plug HDMI cable into device” instead of “Start Sharing,” move the PC mouse to wake it up from sleep.
- Make sure to log off the PC before you stop sharing (otherwise the next person who uses the room may have access to your information).
The touchscreen monitor has a digital blackboard that you can use in class. You don’t need a stylus to use it; your finger will work just as well. If you want to use a stylus, you should use a capacitive stylus. Information Services recommends these for purchase:
A few things to note about the Zoom+ classrooms:
- You can use the Zoom technology to bring a virtual guest speaker to class.
- Instructions on how to create a Zoom session are here. You would then share the meeting ID and passcode with your guest speaker.
- This page explains how to join and run the Zoom session from your Zoom+ room.
- You can use the Zoom technology to record your classes.
- You can use the Zoom technology to allow students to attend class remotely. This is not the expectation for on-campus (P) and on-campus hybrid (HB) classes, but this could be helpful if you encounter that need.
Information Services and the Center for Teaching and Learning are running “Training Open Houses” this September. You can turn up at these sessions without registration. You can contact ClassTechTraining@depaul.edu if you have questions about the Open Houses.
When Technology Fails
If something goes wrong with technology in your classroom, there are friendly experts on hand to help. Use the room telephone to contact Classroom Tech Support:
(312) 362-5900 (Extension 2-5900)
If you see an error message or a problem, take a picture of it with your smartphone. That information may help support fix the issue.