1. If necessary, copy the files testunit.h and testunit.cpp to the same directory containing the sample file ex1.cpp.
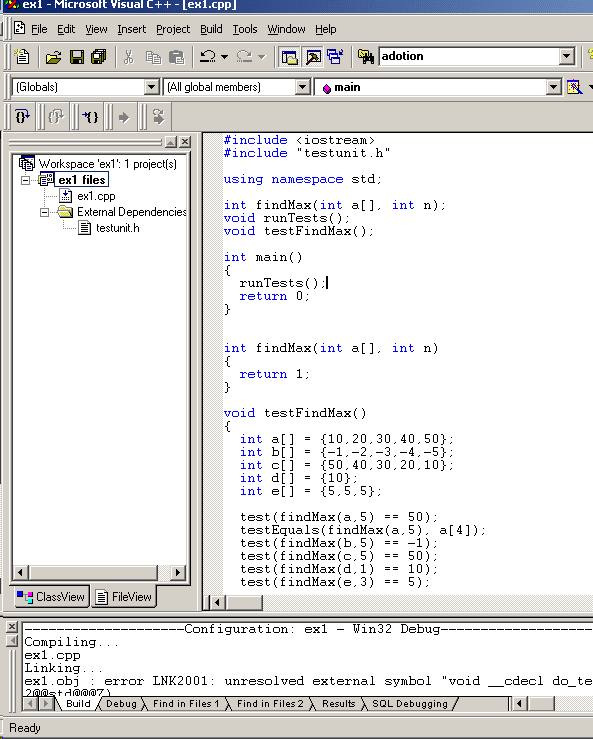
2. Open the ex1.cpp file and try to build it. (You will get some link errors; ignore them for now.)
At the bottom of the workspace window click on the File tab. You should get something like this:
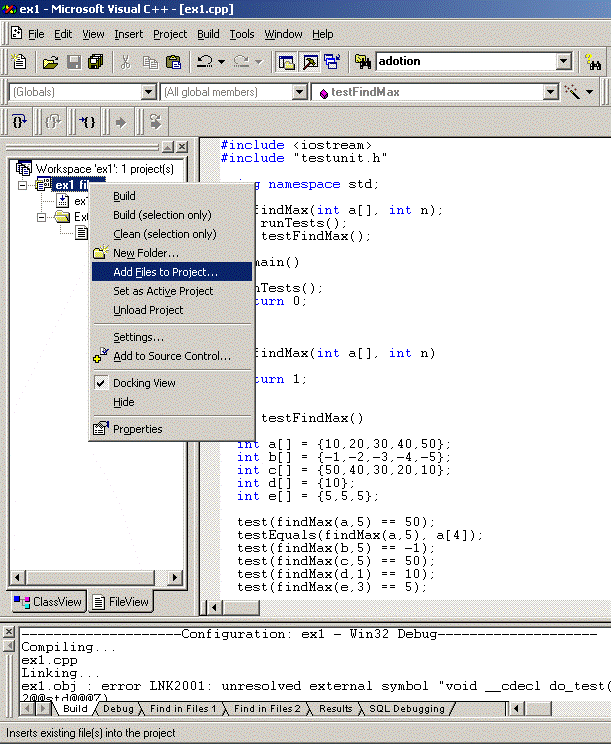
3. Next, right-click on the bold face ex1 files and select the Add Files to Project:
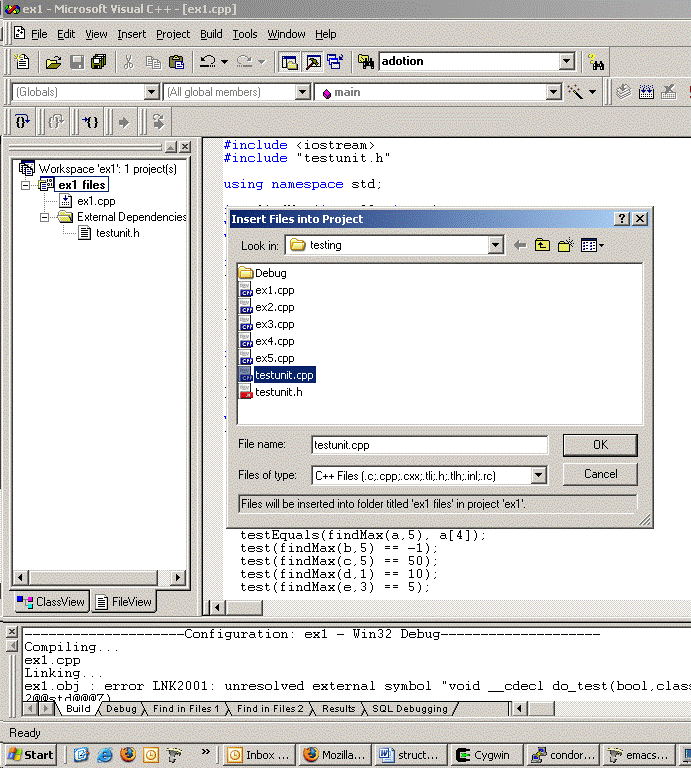
4. Select the testunit.cpp file.
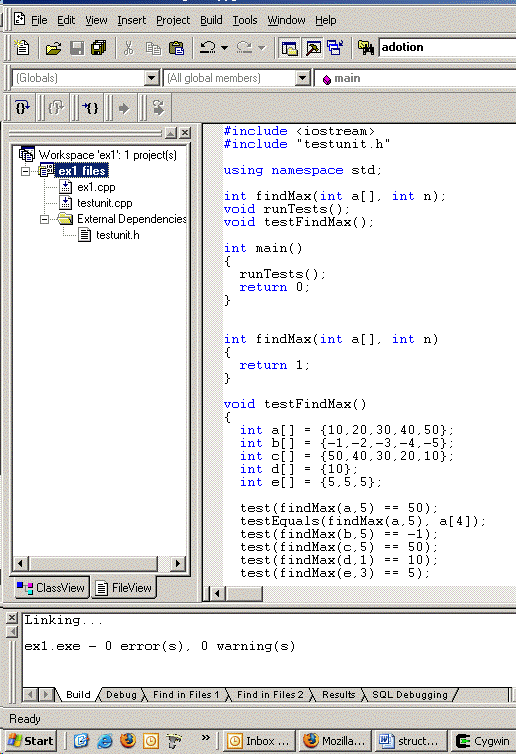
5. Now rebuild the project. It should now contain ex1.cpp, testunit.cpp and the header file testunit.h. It should rebuild with no errors and the workspace should look something like this:
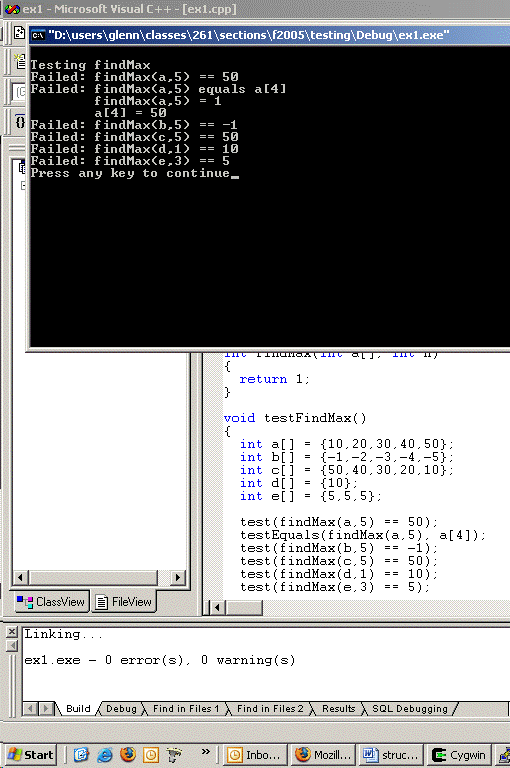
6. Running the program will output the test results: