
Here are instructions to compile C++ programs using Visual Studio 2005 for two situations:
A Visual Studio project contains the C++ file(s) for a program. When the C++ code is compiled and linked, the project also contains the executable file that is produced.
To write, compile, and execute a program you first need to create a project for the program. This means you need to decide on a directory for the project; this is the project directory.
You will be writing lots of programs, and so you will need one project for each program.
Create a directory where all project directories will be created.
For example, I created a directory named
d:\261projects
in which you will create all projects for 261.
This directory will be used as the example directory containing all projects in the rest of these instructions.
If you choose a different directory to contain all your projects, replace d:\261projects by the directory you chose.
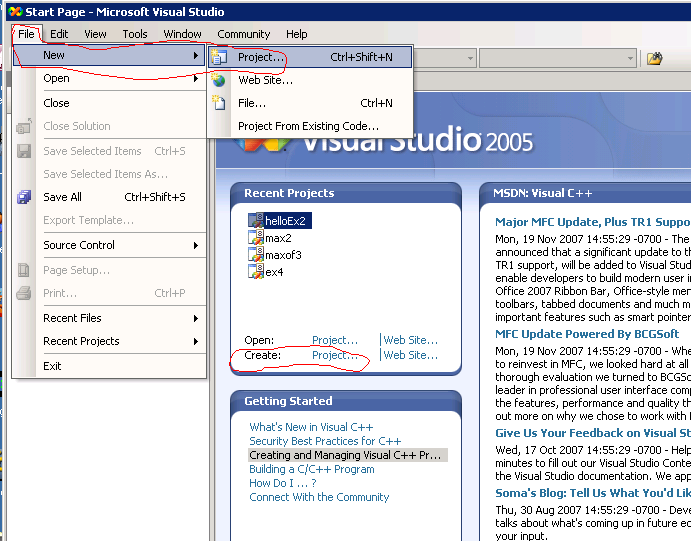
Start Visual Studio 2005. You will see an opening screen similar to the following.
To the left is the Solution Explorer pane. To the right is the Start Page pane.
Click on "Create: Project..." link in the right pane or click on the File menu, New, and Project:
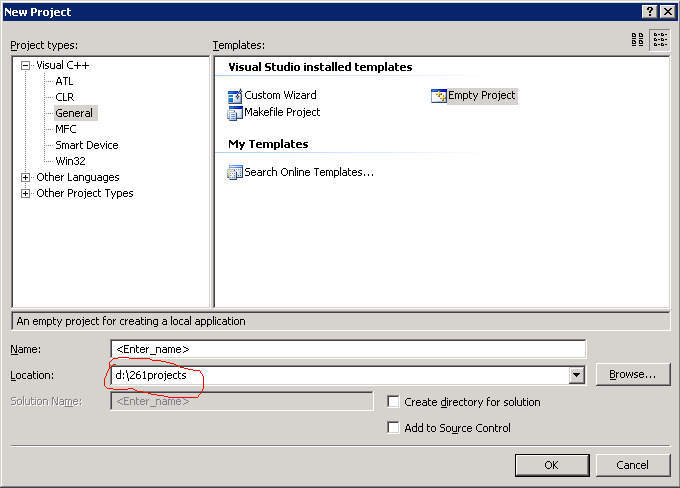
A pop-up window comes up. In the left window, click on Visual C++ and then General:
In the location textbox type (or browse to) the directory that you chose to hold your projects.
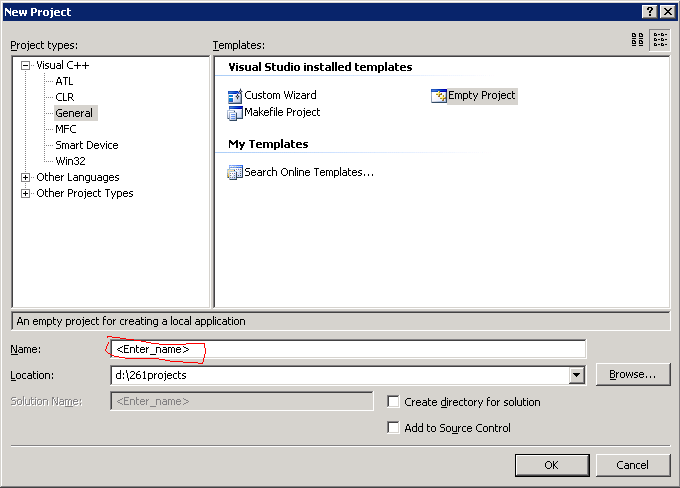
Make sure you have selected the Empty Project.
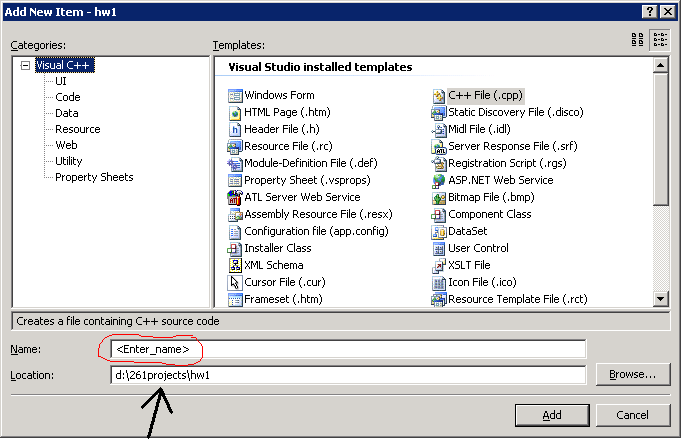
Then type a name for your project (e.g. hw1) in the Name text box replacing the <Enter_Name> text. A directory with the name you choose will be created for your new project.
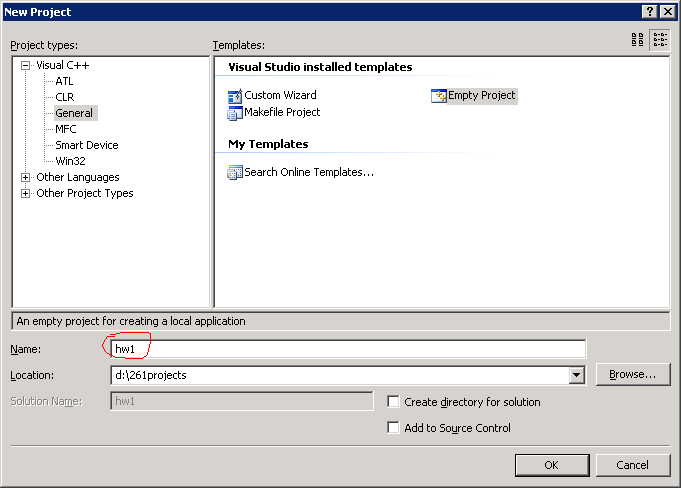
After you have typed a name (e.g hw1) for your project the pop up window should look like this. If it does, click the OK button to create the new empty project.
The new project is created.
The Solution Explorer on the left will contain three "folders"
- Header Files, Resource Files, and Source Files.
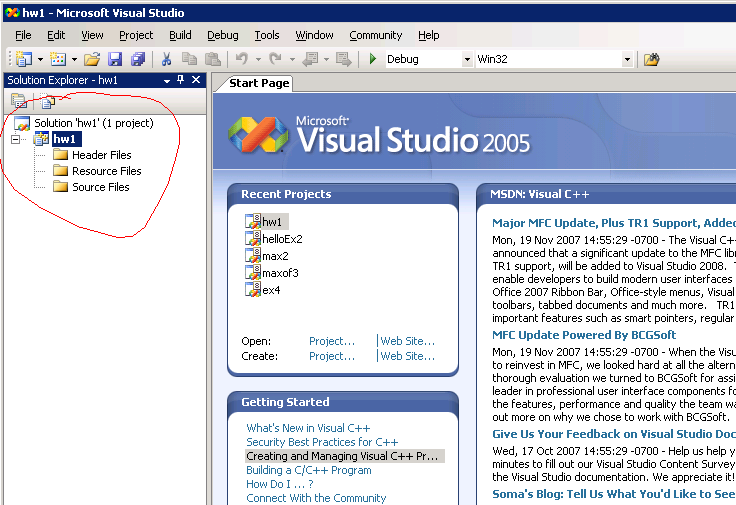
At this point you have an Empty project. It contains no files.
Next you either
Click on Project, Add new Item:

Another pop-up window appears for you to choose a name for your new new C++ (empty) source file. Note that the location is already filled in for you with the project directory. The new file will be created in this directory.
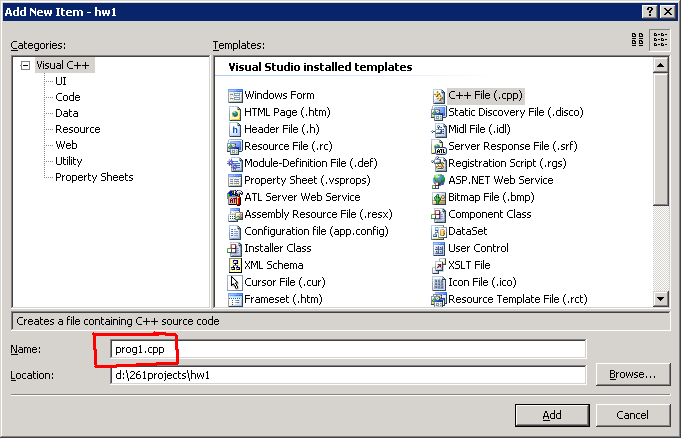
After you have typed a name (e.g prog1.cpp) for your C++ file the pop up window should look like this. If it does, clicking the Add button will create the new (empty) .cpp file and add it to your project.
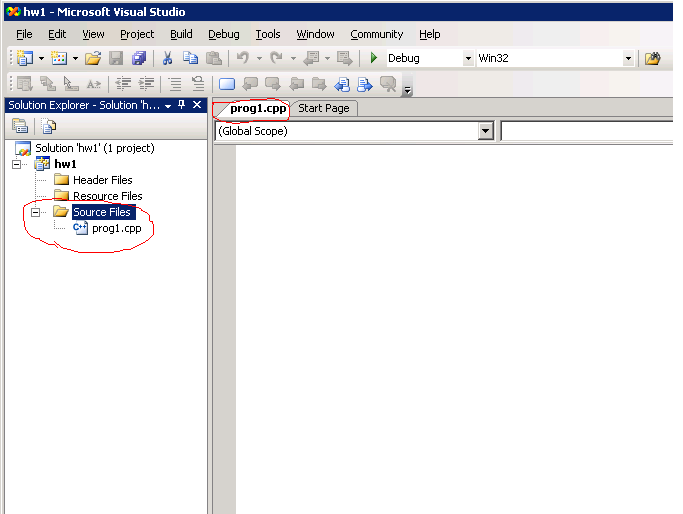
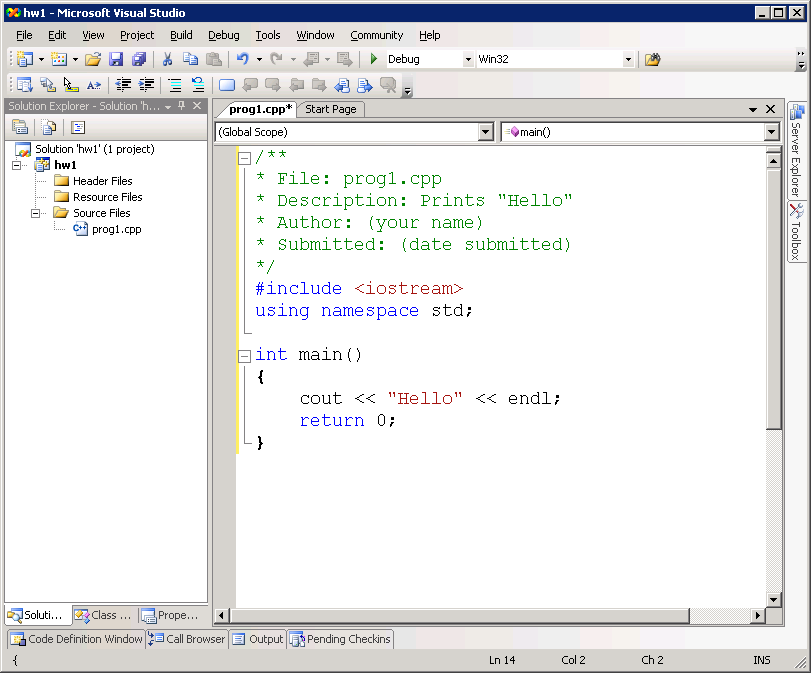
The Visual Studio window should now look like this:
The pop-up window should now look like this:
The right pane has an extra tab labeled with the name of the added file. The pane is empty since the file is new.
Type in code for a program in the right pane for the file you just added to the project:
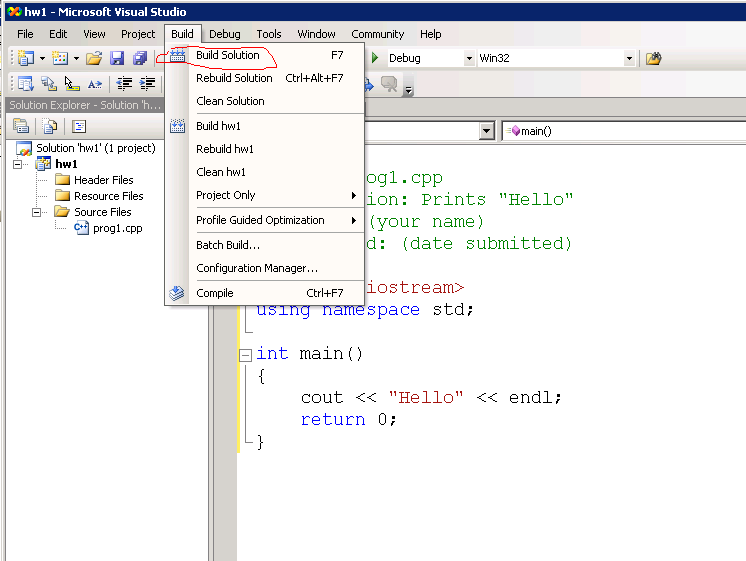
To execute the program you have to build it. This compiles (translates) your C++ code to machine code and links it with library routines to produce an executable file (.exe).
Select Build Solution under the Build menu:
An output window will appear showing indicating either Success or Failure of the build. You must correct errors and Build Solution again until the build succeeds.
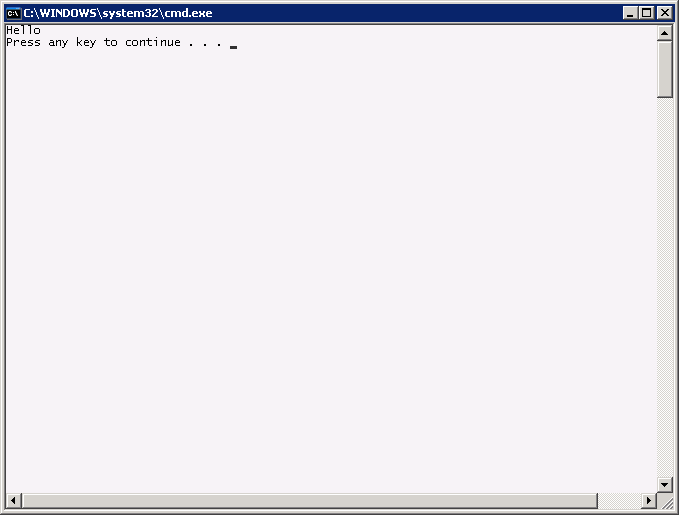
When any build errors have been corrected, execute the program by selecting the Debug menu and Start without Debugging:

A pop-up window will appear for input and output during the execution of your program:
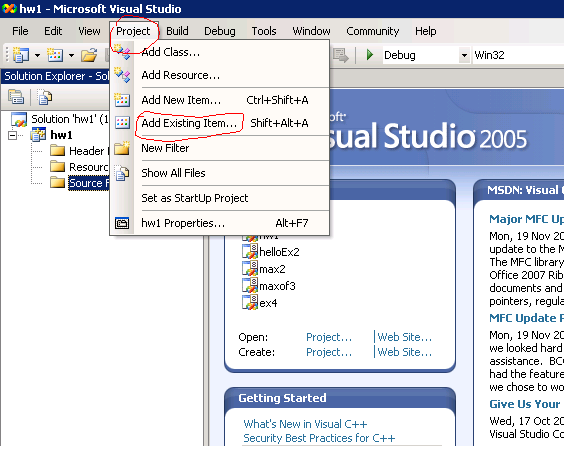
If your instructor provides a .cpp file, you still have to create a new project as before.
But instead of adding a new (empty) file, you can add an existing file to the project. The existing file can be, but doesn't have to be in the project directory.
When you click on Project, Add Existing Item, a dialog window pops up to find the existing item. Just browse to the the location of the existing file and click on the Add button of the pop-up window.
With an existing file, you don't have to enter any code. So skip to the Build step. The remaining steps are the same as before with the new file.