How to Install Java 1.6 and BlueJ
To install Java 1.6, you have to first download it from the Sun website. You should go to
http://java.sun.com/javase/downloads/index.jsp
You will see:


You should choose the version of JDK 6 update 17 with the Java SE Development Kit (JDK), which includes the Java Runtime Environment (JRE) and command-line development tools. When you click on this download button, you will see the following page:
![]()
Then click on Continue (if you are using Windows).
If you are installing this on a Linux system, etc., then choose the appropriate version. Notice that there is no Mac version. This is because Java comes pre-installed on all Mac’s. If you do not have Java on your Mac, you can download the Window’s version. You then must install Windows on your computer. After you do this, you will see the following choice:
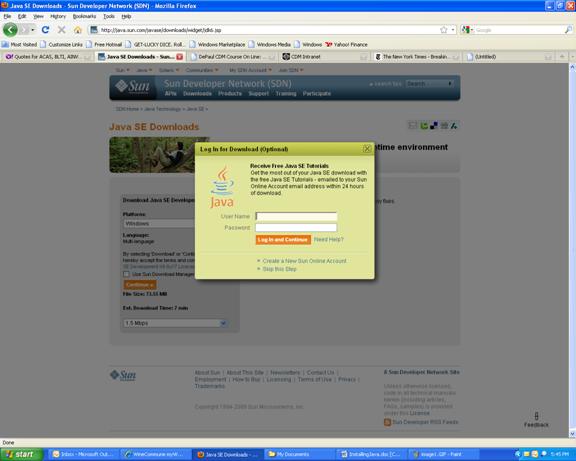
You can create an account on-line if you want to and receive all of the tutorials, etc if you want. It is not necessary for this course. If you either register or just close the window, you will then click on the Continue again to get the following page:


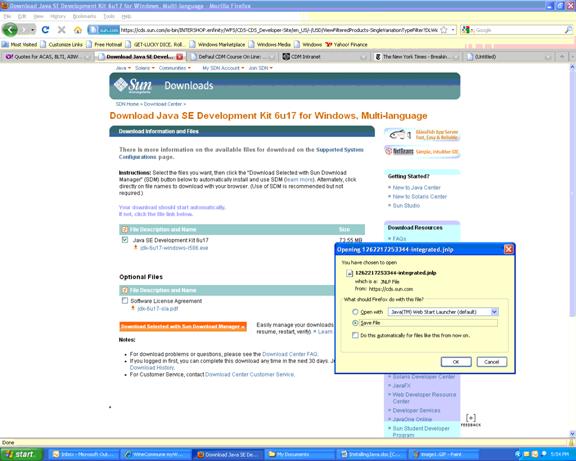
You click on the Java SE Development Kit checkbox and then click on the Download button.
The above choice of whether to “Open” it or “Save” it first. I would recommend clicking on “Save” and saving it to the desktop. Depending on your connection, this can take anywhere from less than a minute to several minutes. After saving it, you can double-click on your desktop to start the installation. The installation is straight forward; you should accept all licensing agreements, etc. The default for installation will be on the C:\Program Files, but you can install it anywhere you want by clicking on the “Browse” button.
The installing will take several minutes, so don’t worry. Most options can be done by just choosing the “Next” button. Finally, when done “Installation Completed” screen will appear, and just click on the “Finished” button:
Next you want to install BlueJ. Note, you must install Java before BlueJ, as BlueJ has a java executable for installation. Before you download “BlueJ” , you must create a folder called “BlueJ”. Where you install it is up to you. I have installed mine inside the “Java1.5” folder.
After creating the folder, you will now need to download “BlueJ”. To do this, open up your internet browser and go to the website of “www.bluej.org. It will look like:


Click on the “Download” link on the left hand side of the page(below “About BlueJ”), to get:
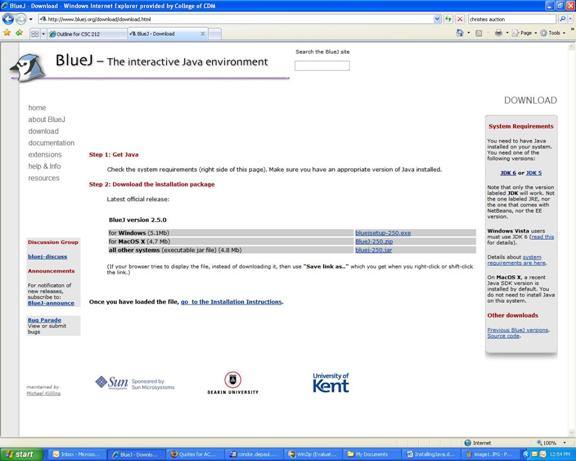
Choose the one that you need, and download it. (Since I am installing this on a PC, I choose the “bluejsetup-250.exe” file”.) You will be prompted by a popup directory window, and choose the “Bluej” folder to where it is to be saved. You will also be prompted of where you want the short-cut to be installed. You can leave it in the “BlueJ” folder, but be sure to click the yes for a short-cut icon on the desktop:
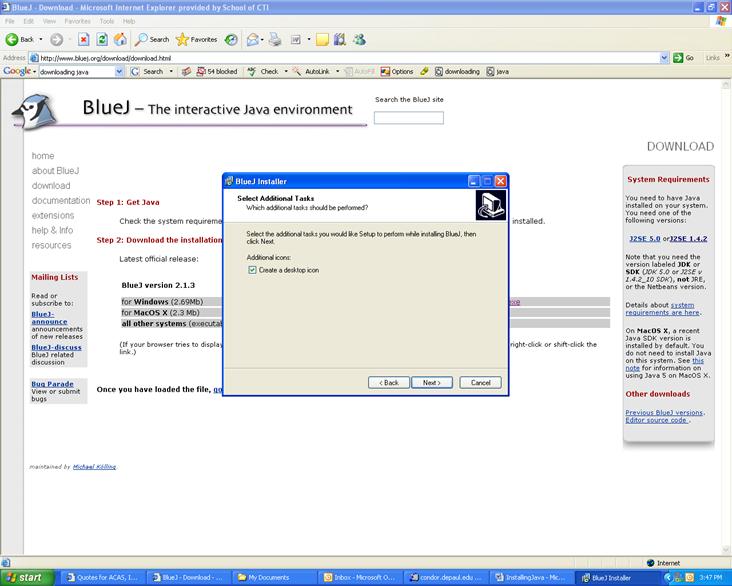
Then click on the “Install” button when prompted and you will be done.
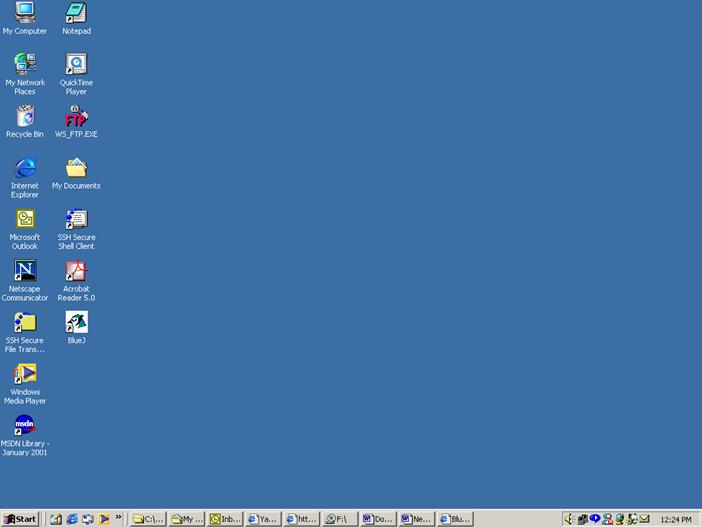
![]() If you close the windows, on
your desktop you will see a “BlueJ” icon with a bluejay as its pictograph:
If you close the windows, on
your desktop you will see a “BlueJ” icon with a bluejay as its pictograph:
If you double-click on the BlueJ icon you will see:

This is how one starts a Java project in BlueJ.